Diamond lab · open blueprint
A quantum computer made from a diamond. Build it with a 3D printer.
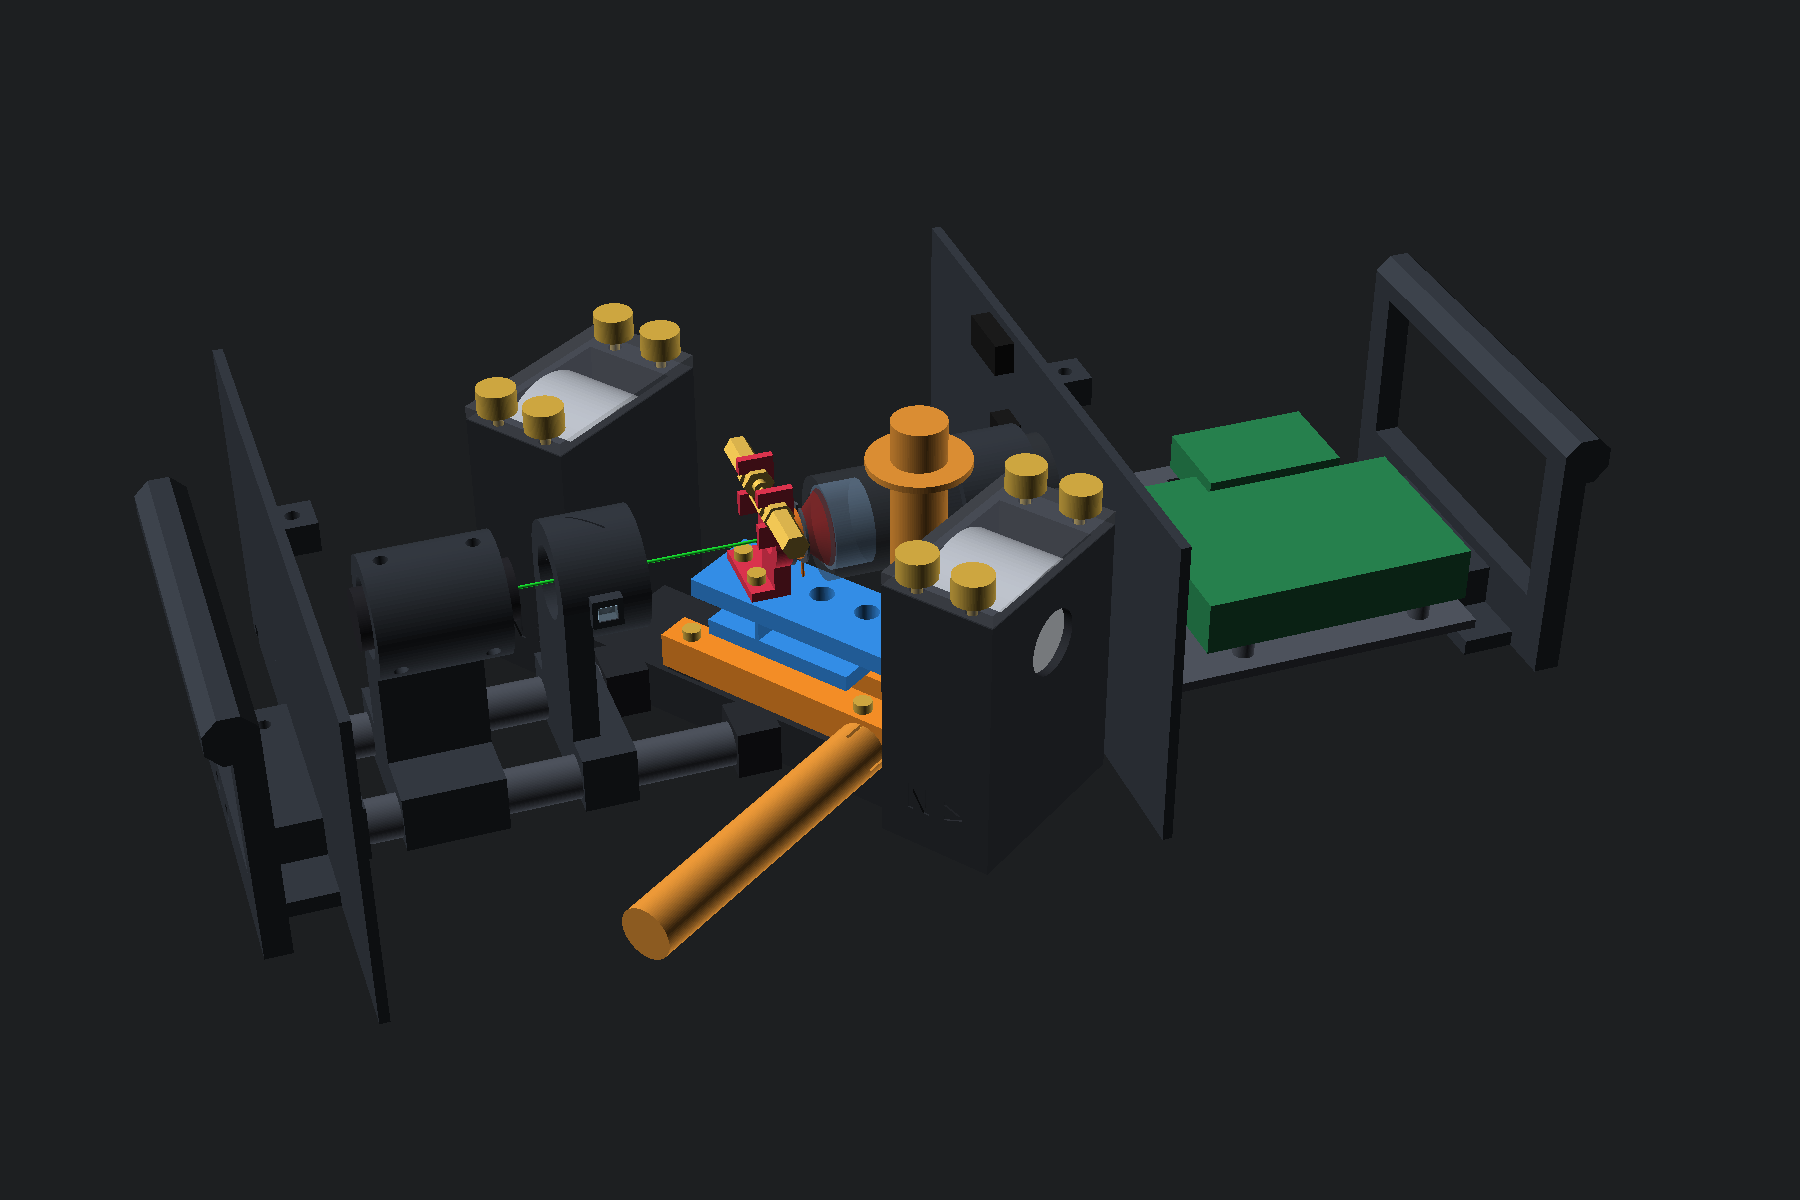
The workbench is our open blueprint for a quantum computer made from a diamond, the revised version of a first calculation from May 2026. With it we calculated the whole set-up, compared parts and found mistakes before a single euro was spent. That let us design our model to be stronger from the start, and we have since come a good deal further. That is why we are now making this stage openly available.
Before you build
- Laser, class 3B. The green laser module (520 nm, 100 mW) can permanently damage the eye with even a brief direct or reflected beam. Only operate it with 520 nm safety glasses, a closed cover with interlock and a beam trap. Never look into the beam.
- Microwaves. From stage 2 on, 1 to 2 watts radiate from an open loop. Only operate under a shielded cover, never switch on the amplifier without the loop or a terminator, keep your body at a distance.
- Strong magnets. The neodymium magnets snap together from centimetres away and can crush fingers. Insert them one at a time and guided. Keep them away from pacemakers and other implants, cards and storage media.
- Power and heat. Only use certified power supplies. Soldering iron and printer nozzle get hotter than 200 degrees.
- Your own responsibility. Building it is at your own risk, not for children and not for the classroom. All figures in the workbench and measuring station are calculated in advance; a real set-up may differ.
Workbench
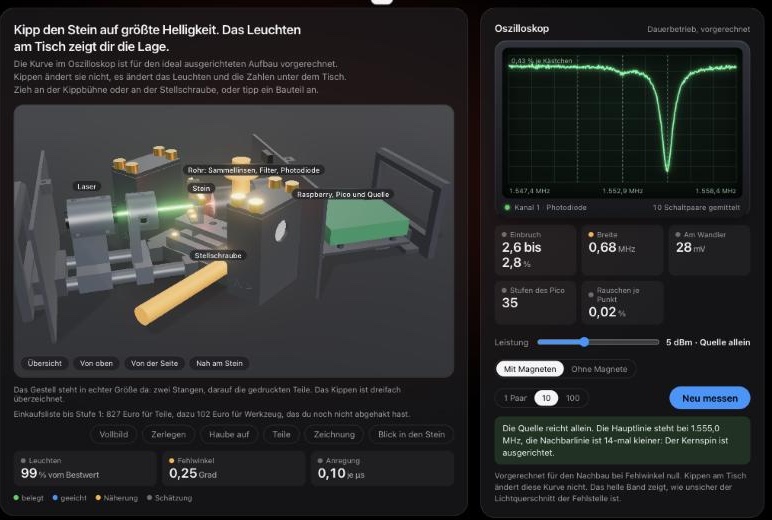
The set-up in 3D, four build stages, oscilloscope and gaussmeter. Every figure with its derivation and how well it is backed.
Open the workbenchMeasuring station
The measuring page for the Raspberry Pi, here with an imagined Pico. One station for everyone: if a measurement is running, you watch it too.
Try the measuring stationParts list
Every part with sources and prices down to the smallest screw, plus the tools.
Read the parts listPrint files and software
OpenSCAD design with build script, the program for the Pico, the Raspberry Pi set-up. Single print parts in the workbench under “Blätter”.
Four build stages, each feasible according to the calculation
- The stone glows
Green light in, red glow out, magnet set for maximum brightness.
- Finding the resonance
A dip in the glow shows where the microwave flips the spin.
- Rotating a qubit
Rabi, Ramsey and echo: short pulses rotate the spin on purpose.
- Entangling two qubits
Electron spin and nuclear spin form a Bell state.
Two findings from the calculation: a single magnet would have made the experiment useless; only a pair of magnets with the stone in the middle works. And instead of a stone for about 1,900 US dollars, a plate for 165 US dollars is enough according to the calculation.
Workbench and measuring station are in German.